
Connecting to a VPN
If you are not using an IE managed computer that is directly connected to the campus network or if you are using a personal computer you must first connect to the correct VPN. Click the following link for instructions on how to use the VPN then continue with the printer setup instructions.
Windows PC:
First, check if the printer is already connected to your PC.
Go to the start menu, and search for Printers & Scanners.
In the Printers & Scanners section, check if the desired printer already exists. If it does, the printer is already connected to your PC.
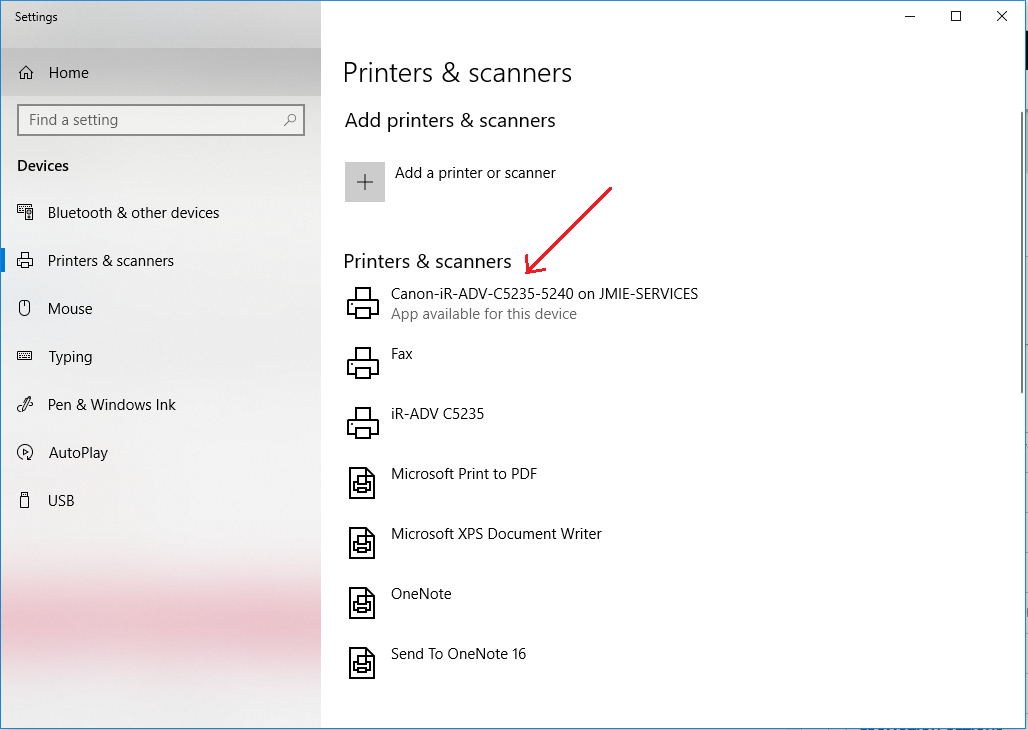
If the desired printer does not exist in Printers & Scanners
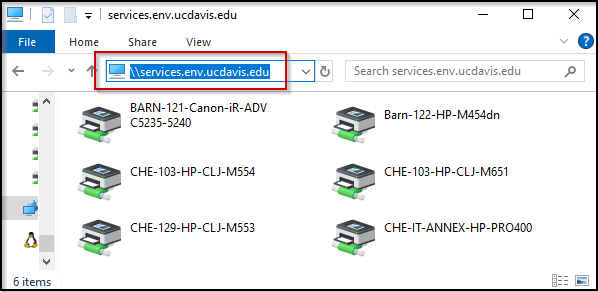
- Run for File Explorer application
- Type the following path to the print server in the File Explorer to see available printers:
\\services.env.ucdavis.edu
You may be prompted for your AD3\<loginID> credentials if using a non-managed or personal PC when attempting to access a print server.
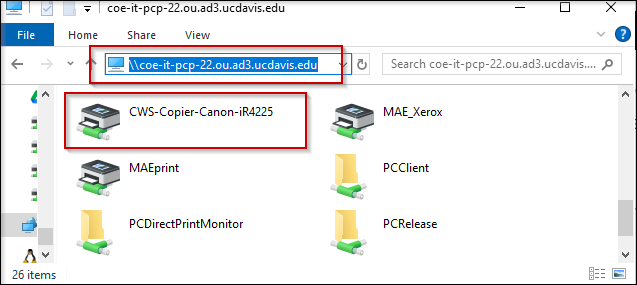
If you are looking for a specific printer to install, click on the link below to see the complete path to the printer and enter the URL in the File Explorer toolbar.
3. Then, double-click on the printer you want to connect to. This will connect the printer to the PC and the printer drivers will automatically start to download.
Open the file you want to print and click on CTRL+P to print the file. The printer name should display as "<printer name> on services.env.ucdavis.edu
For Details on Using the Barn 121 Printer:
MacOS / OS X:
For manual driver installation, see an example here.
To connect to printer, first open System Preferences and click on the Printers & Scanners tab.

1. Click the + sign under Printers, and a new window labeled "Add" should appear.
2. Click IP and enter the address of the printer using the following template:
[name of print server]/[name of printer that you want to add]
example: //services.env.ucdavis.edu/BARN-121-Canon-iR-ADV-C5235

For Macs on Catalina or higher, if the instructions above do not work, do the following:
- Follow steps 1 and 2 from above
- A new window called "Add" will pop up. Click IP and fill in the following fields:
- Address: <name of print server e.g. coe-it-pcp-22.ou.ad3.ucdavis.edu>
- Protocol: choose Line Printer Daemon - LPD from the drop down menu
- Queue: <name of printer you want to add here without the arrow signs>
- Leave all other fields blank/as the default > click Add.
For Details on How to Print Using Non-Managed Mac PCs:
For Details on Using the Barn 121 Printer:
Vasion PrinterLogic
A new print management tool called Vasion PrinterLogic which bypasses the need to request administrative access to setup your department printer is now available. Instructions on using the Vasion PrinterLogic can be found here:
https://it.environment.ucdavis.edu/printerlogic