
**Please note that Remote Desktop Connection is only available on Windows PCs.
Connect to the Campus VPN
If you're remotely connecting while not connected to the campus domain or on a non-managed PC, please ensure you have the correct configuration for the Ivanti Campus VPN.
Using Remote Desktop Connection
- Once connected to the VPN, navigate to the “Remote Desktop Connection” application by searching for it in the left-hand search bar. Click on the application
You should see a prompt similar to the following:
Group Server CWS yolo.cws.ucdavis.edu DEEP deep.env.ucdavis.edu
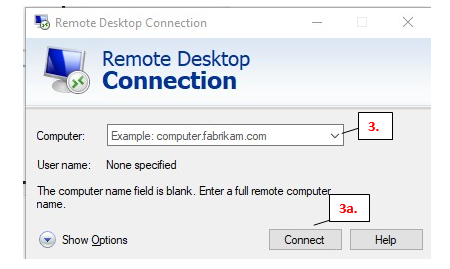
- In the “Computer:” text box, type the hostname. List of available remote desktop servers by department:
3a. The following prompt should appear once you hit “Connect”:
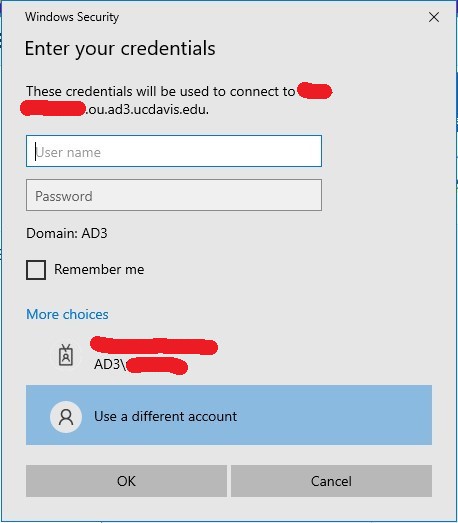
- Select “More choices”
- “Use a different account” as indicated below.
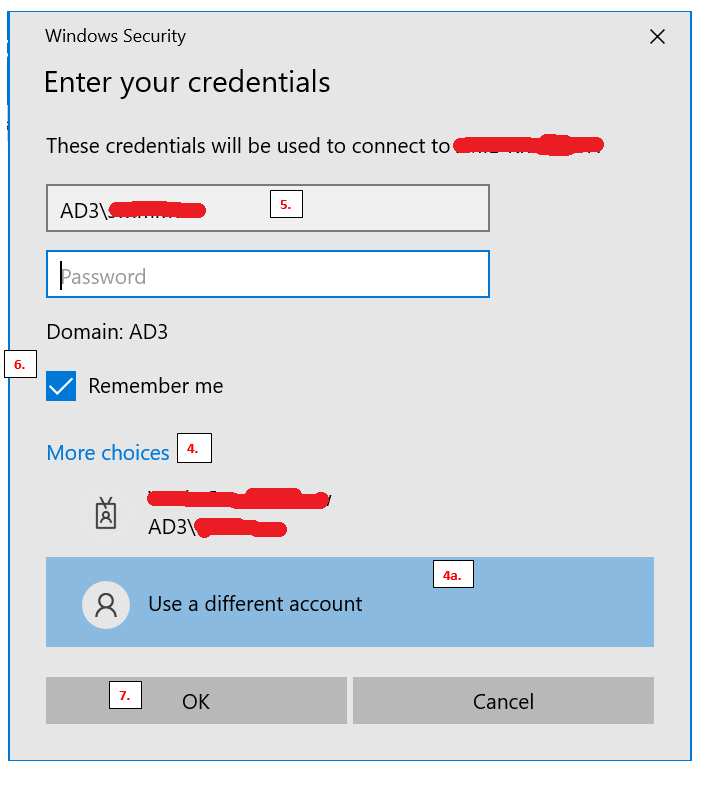
- Input your UC Davis Kerberos Username and Password as indicated below.
-
- Make sure that you specify the domain for username. This is done by typing the following: AD3\
- Input your password
-
- Select the “Remember Me” checkbox as indicated below.
- Select “Ok”
- It should allow you to sign-in and connect to the PC of your choice.
- When you are prompted to use DUO, do so and approve it from your mobile phone.
At this point you should be successfully remotely connected.
Using Microsoft Remote Desktop for Macs
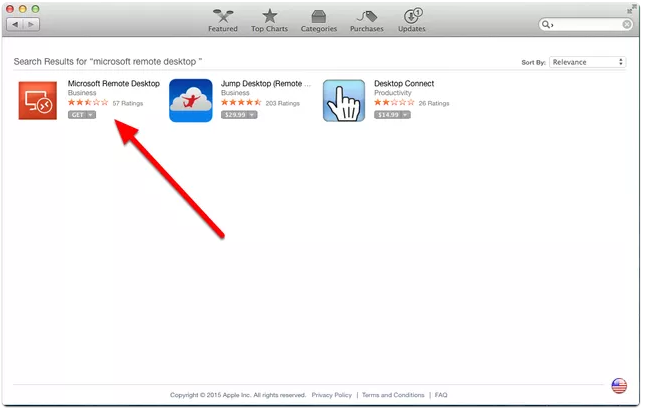
1. Download Microsoft Remote Desktop Client
Go to the App Store, search “Microsoft Remote Desktop,” and download Microsoft Remote Desktop.
2. Set Up a New Server Profile
If you want to connect to a new server not in your list of desktops, click on “New” located at the upper left corner.
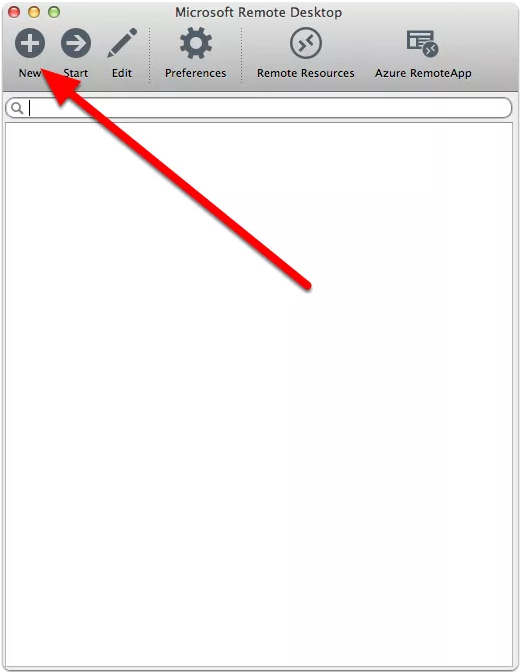
A server profile setup window will pop up.
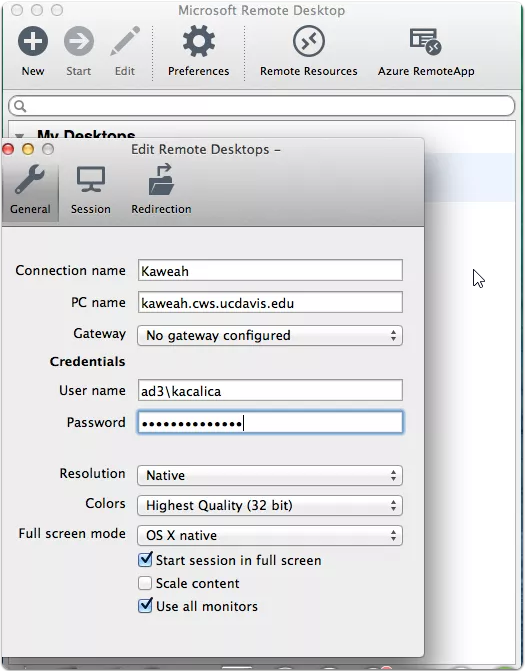
- For “Connection name” add the name of the server.
- For “PC name” add the correct Remote Desktop URL
- yolo.cws.ucdavis.edu (requires DUO)
- hydro.cws.ucdavis.edu (request access)
- For “User name” add “ad3\kerberos_username” (the character after “ad3” is a backslash, NOT a forward slash).
- For “Password” add your Kerberos password (do NOT add “ad3\” to your Kerberos password).
The rest of the configuration details are up to you as the user.
Click on the red Close button when you are done.
Below is an example of a Kaweah profile setup.
3. Connect to Existing Servers
All servers whose profiles you created will appear in a list.
To connect, you can double-click on the server name.